1. The data you must take from the drawings
Take from the supplier’s data sheet and from the engineer’s drawings the joist spacing, the bearing of each joist on its support, the length of a block and the thickness of the topping. They are not choices of this guide: they depend on the loads and the products.
Using the tool step by step
The numbered marks on the screenshots follow the order in which you use the tool. The fields are filled with an example.
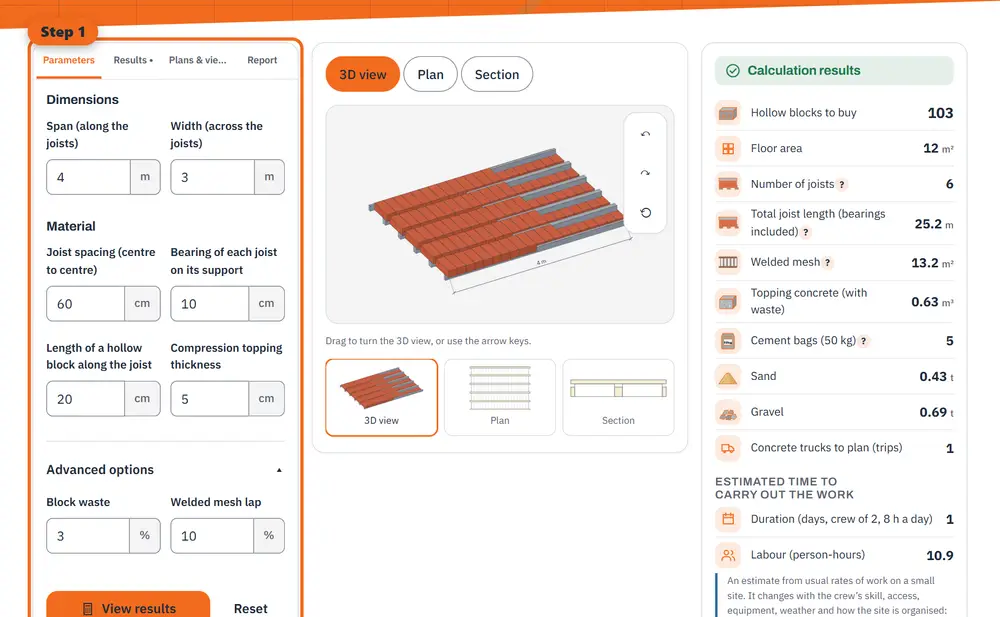
Step 1 Enter your values: dimensions, materials and options. 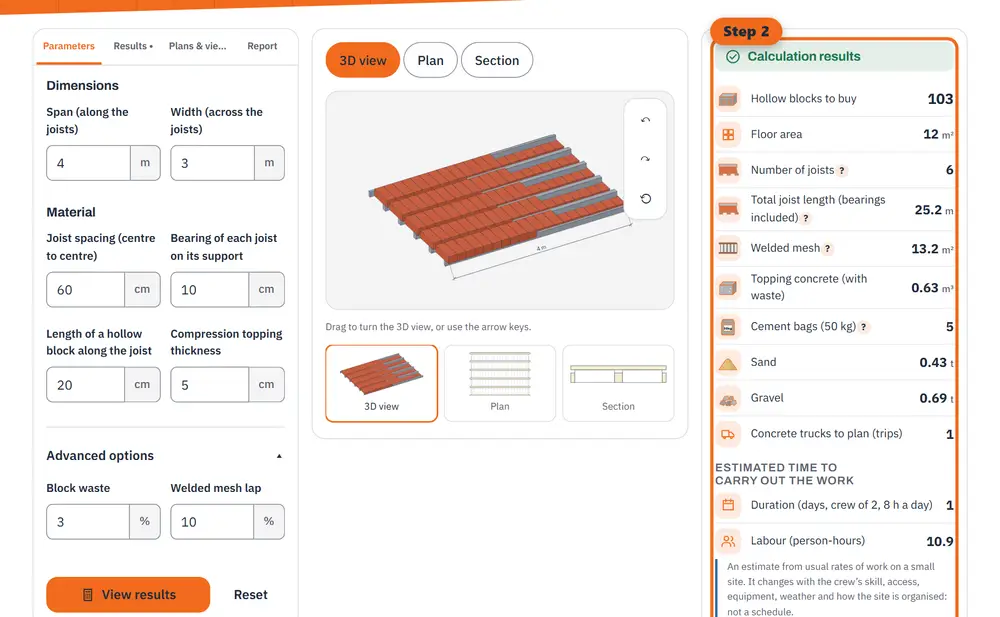
Step 2 Read the results: quantities, costs and estimated durations, updated as you type. 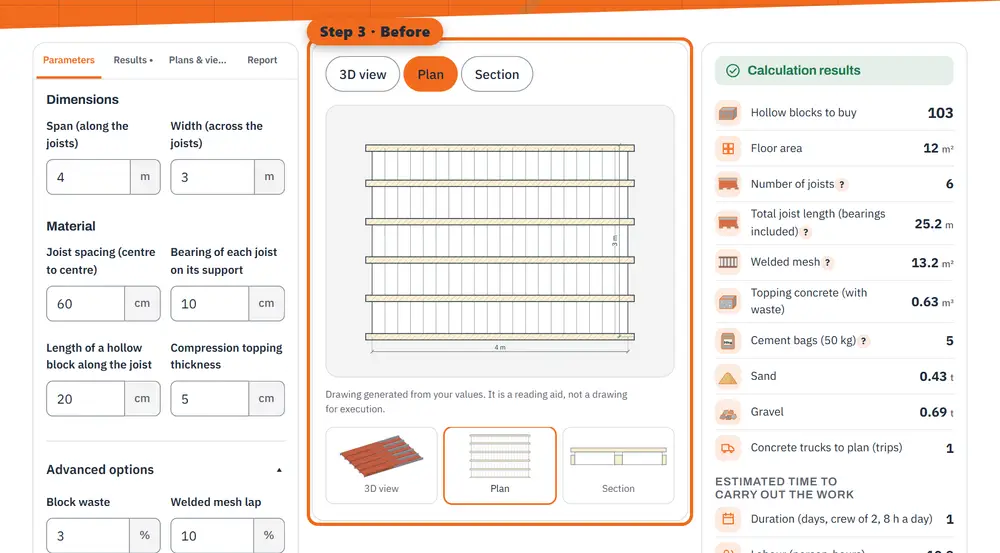
Step 3 Before: the plan of the work to be built, with its dimensions. 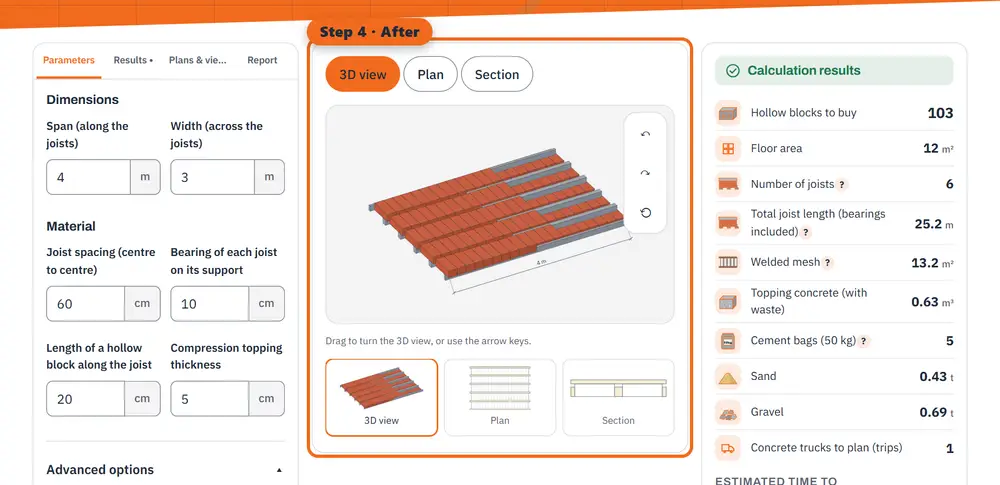
Step 4 After: the 3D rendering of the finished work (an illustration made by the tool, not a photo).
2. Joists
Joists run along the span. Count one at each edge, then one every spacing across the width: ⌈width ÷ spacing⌉ + 1. Each joist is as long as the span plus a bearing at each end.
3. Blocks, mesh and topping
Between two joists there is a row of blocks: rows = joists − 1, and each row holds ⌈span ÷ block length⌉ blocks. Add a waste of about 3 %.
The welded mesh covers the whole floor plus its laps; the topping is the area times its thickness, then cement, sand and gravel as for any concrete.
Worked example: 4 m × 3 m floor
Spacing 60 cm, bearing 10 cm, blocks of 20 cm, topping 5 cm:
- Joists: ⌈3 ÷ 0.6⌉ + 1 = 6, each 4.20 m, i.e. 25.20 m.
- Blocks: 5 rows × 20 = 100, with 3 % waste 103.
- Mesh: 12 m² + 10 % laps = 13.20 m².
- Topping: 12 × 0.05 = 0.60 m³ before waste.
What this does not cover
The count does not size the floor: span limits, joist type, props, tie beams, edge bars and openings come from the engineer. The concrete calculator gives the cement and the aggregates, and the rebar calculator the weight of bars.
General information, checked at the date shown. It does not replace advice from a professional for your situation.