1. Area to insulate
For a roof or a floor, multiply the length by the width. For a wall, multiply the length by the height and subtract the doors and windows.
Using the tool step by step
The numbered marks on the screenshots follow the order in which you use the tool. The fields are filled with an example.
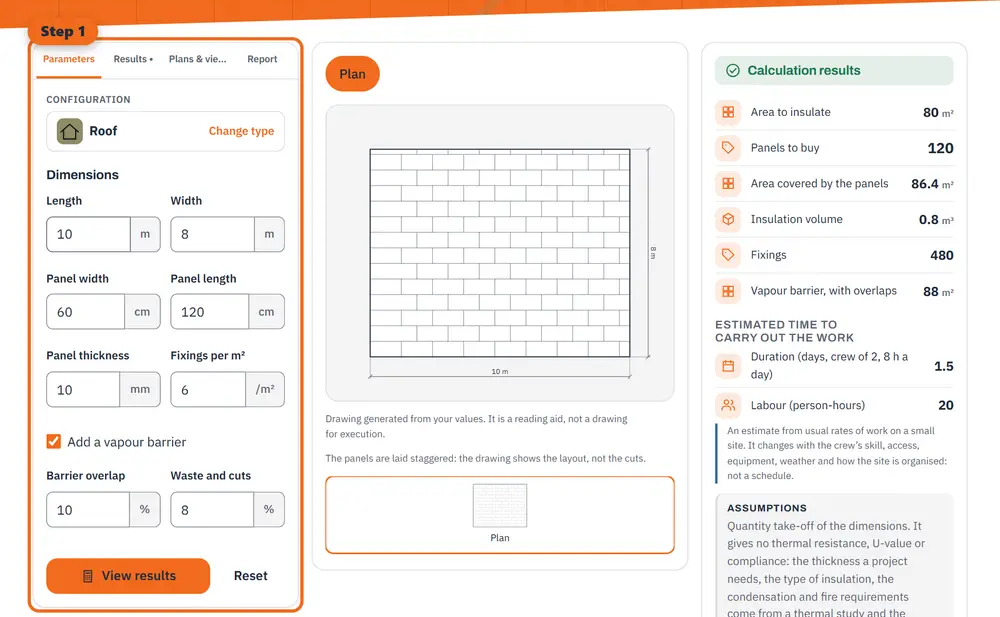
Step 1 Enter your values: dimensions, materials and options. 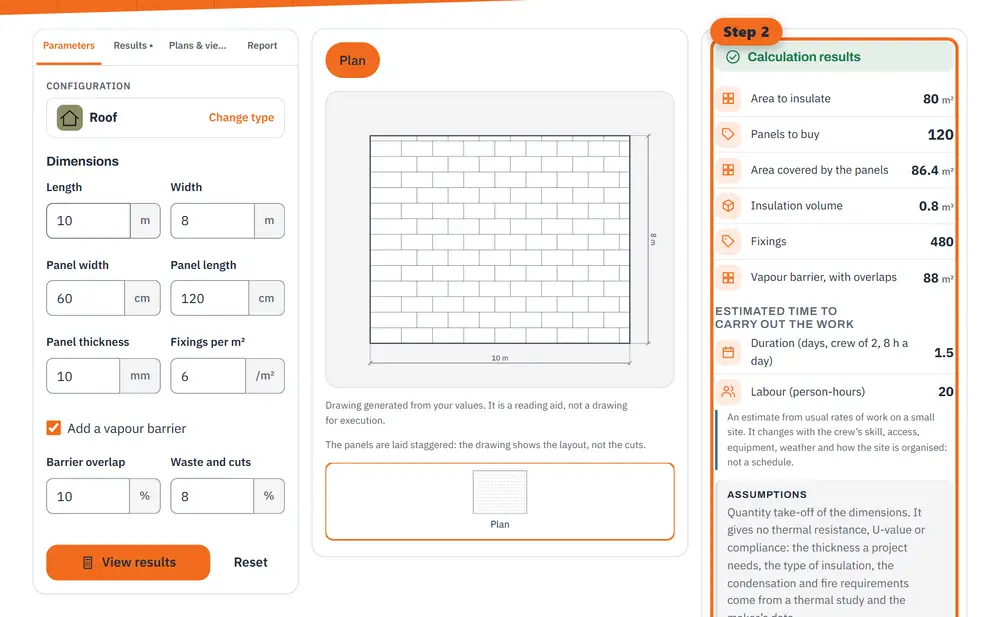
Step 2 Read the results: quantities, costs and estimated durations, updated as you type. 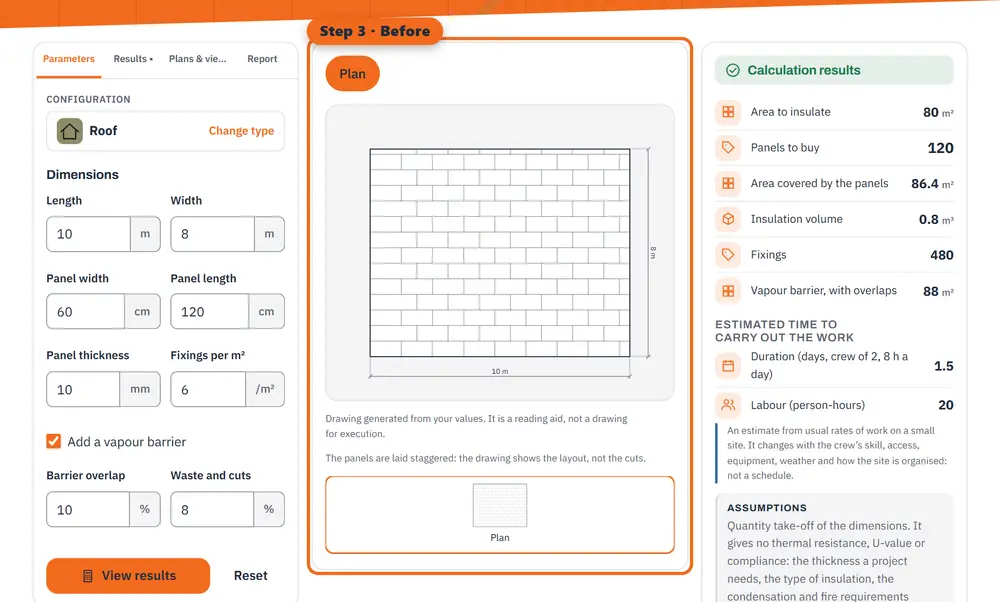
Step 3 Before: the plan of the work to be built, with its dimensions.
2. Panels, with waste
Increase the area by the waste for cuts, divide by the area of one panel and round up to a whole panel. A 60 × 120 cm panel covers 0.72 m².
3. Fixings, adhesive and vapour barrier
Fixings and adhesive are counted per square metre at the rate the maker gives. The vapour barrier covers the area plus its overlaps, when the build-up needs one.
Worked example: wall 12 × 2.8 m, 6 m² of openings
Panels 60 × 120 cm, 50 mm thick, 8 % waste, 6 fixings and 4 kg of adhesive per m², 10 % overlap:
- Area 12 × 2.8 − 6 = 27.6 m².
- Panels: 27.6 × 1.08 / 0.72 = 41.4, so 42 panels.
- Fixings: 27.6 × 6 = 165.6, so 166. Adhesive: 27.6 × 4 = 110.4 kg.
- Volume 27.6 × 0.05 = 1.38 m³. Vapour barrier 27.6 × 1.10 = 30.36 m².
Second case: a roof 10 × 8 m
Same panels, 8 % waste, without adhesive and without vapour barrier:
- Area 10 × 8 = 80 m².
- Panels: 80 × 1.08 / 0.72 = 120 exactly, so 120 panels, covering 86.4 m².
- Fixings: 80 × 6 = 480. Volume 80 × 0.05 = 4 m³.
- A roof needs no adhesive in this method: untick the vapour barrier if your build-up has none.
What this does not cover
The count gives no thermal resistance or U-value. The thickness, the type of insulation, the condensation and the fire requirements come from a thermal study and the maker’s data.
General information, checked at the date shown. It does not replace advice from a professional for your situation.