1. Pavers with their joints
One paver with its joint covers (length + joint) times (width + joint). Divide the area by that, add the waste for cuts and breakage, and round up to whole pavers.
Using the tool step by step
The numbered marks on the screenshots follow the order in which you use the tool. The fields are filled with an example.
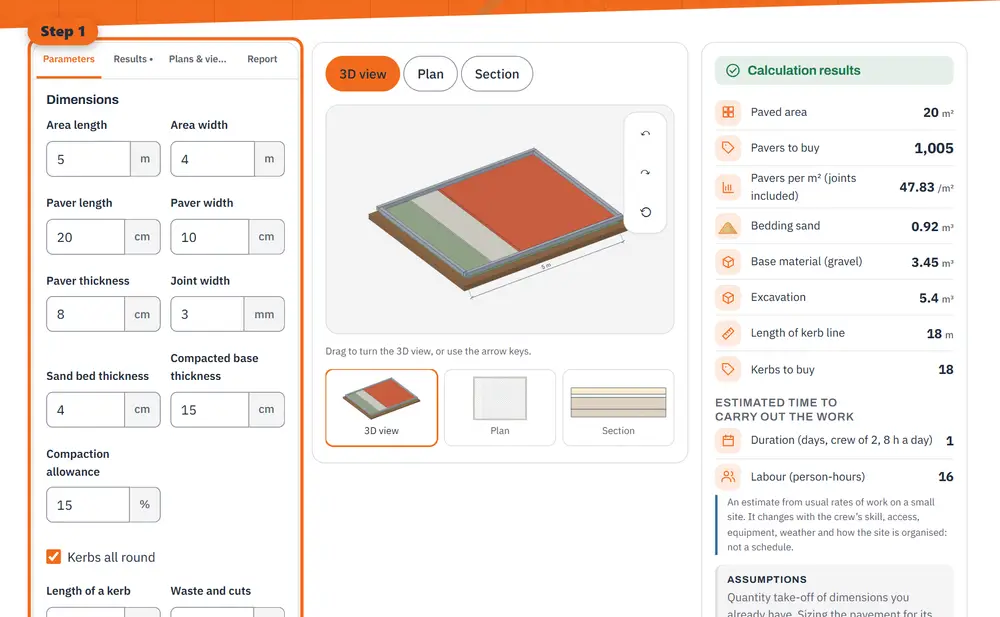
Step 1 Enter your values: dimensions, materials and options. 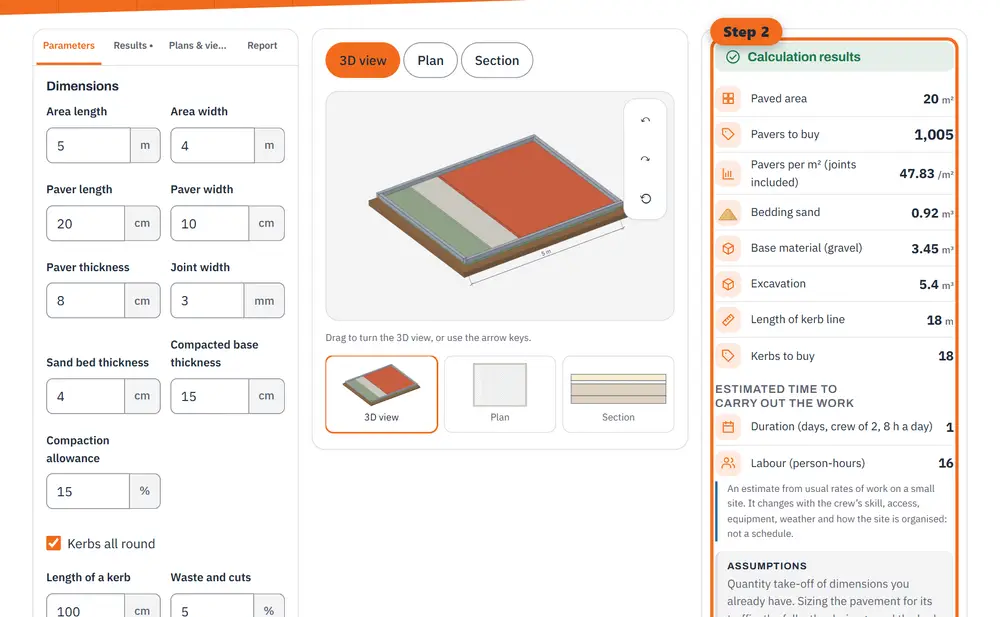
Step 2 Read the results: quantities, costs and estimated durations, updated as you type. 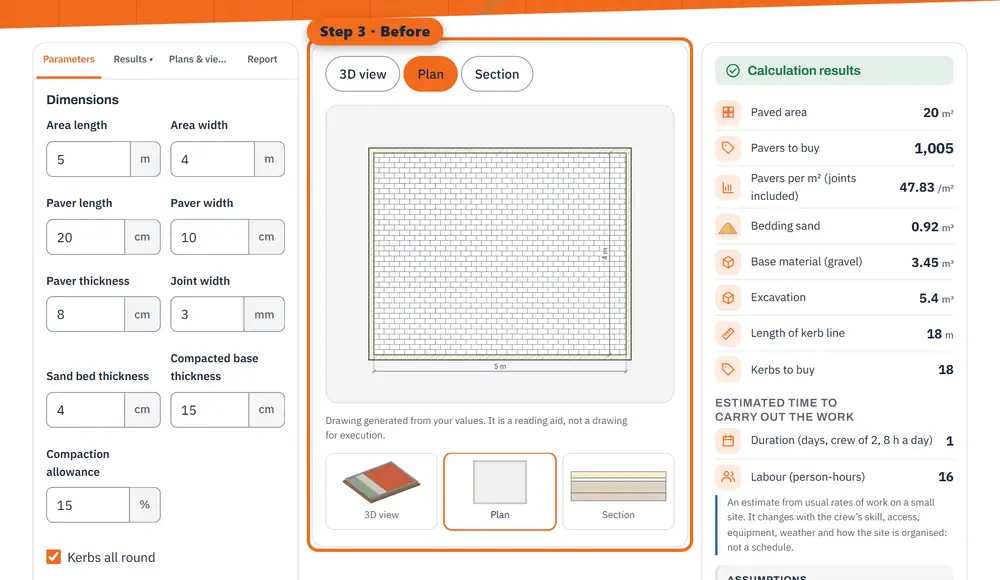
Step 3 Before: the plan of the work to be built, with its dimensions. 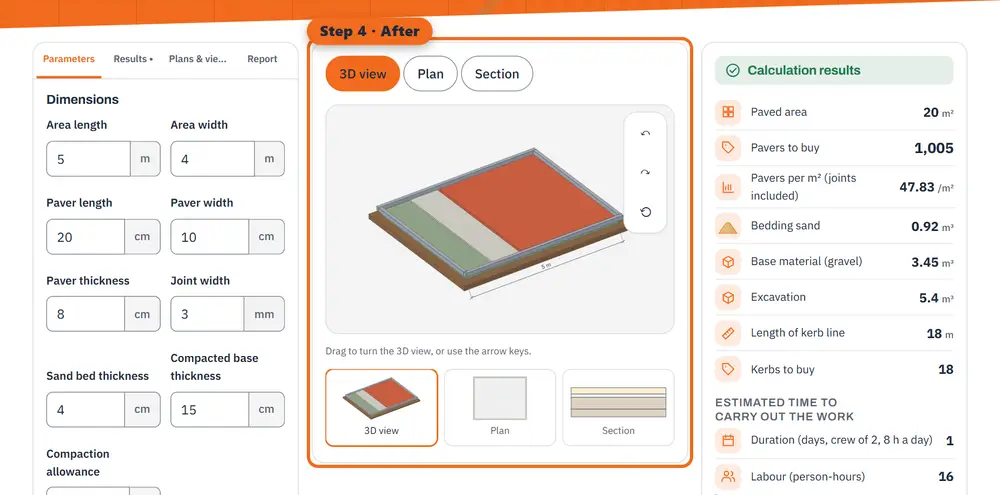
Step 4 After: the 3D rendering of the finished work (an illustration made by the tool, not a photo).
2. Sand, base and excavation
Each layer is the area times its thickness. Sand and base lose volume when compacted, so the order is increased by a compaction allowance. The excavation goes down to the full build-up: paver thickness plus sand bed plus base.
Worked example: 6 × 4 m area
Pavers 20 × 10 × 8 cm with 3 mm joints, 4 cm of sand, 15 cm of base, 15 % compaction, 5 % waste, kerbs 1 m long all round:
- Area 24 m²; one paver with its joint covers 20.3 × 10.3 cm, so 47.83 pavers per m².
- Pavers: 24 × 47.83 × 1.05 = 1,205.25, so 1,206.
- Sand: 24 × 0.04 × 1.15 = 1.104 m³; base: 24 × 0.15 × 1.15 = 4.140 m³.
- Excavation: 24 × (0.08 + 0.04 + 0.15) = 6.480 m³.
- Kerb line 2 × (6 + 4) = 20 m, so 20 kerbs of 1 m.
What this does not cover
The count does not design the pavement: its build-up for the traffic, the falls, the drainage and the kerb foundations come from the engineer. The compaction allowance is a starting value; take the real one from your supplier.
General information, checked at the date shown. It does not replace advice from a professional for your situation.